


Then I starting paying attention to the small details a little more.

I have learned that regardless of whether you make the cake yourself (no matter how simple or elaborate) or purchase it, the extra detail of a finished cake board can really make help make it shine!
I'm going to show you a very easy and inexpensive way to make a pretty cake board to dress up your next cake!
You will need the following...
1 package of cake circles. You can find these at most craft stores and even Walmart. You want to buy the size that is 2" bigger than your cake (ie 8" cake = 10" circles). The exception I make to this is if I am going to have 3D elements on the side like with my Puppy Cake. Then I will go larger so there is a little more room.

Ribbon in a coordinating color/pattern. If you choose ribbon that is 3/"8 size then you will use 3 cake circles to make your board. If your ribbon is 5/8" then you will need 4 cake circles. Either will work fine, so choose whichever ribbon you like. What you do not want to do is try to trim the ribbon to fit your board because that will result in fraying. More cake circles make the board stronger, so if your cake is more than 1 tier opt for more circles and the larger ribbon!

You will also need hot glue.
Take your cake circles (3 or 4) and place hot glue on each one to attach them all together. Make sure you put glue all the way to the outer edge and apply evenly all over or there will be gaps in the sides. Hold them tightly together as they are drying to get them as flat as possible. Also be sure that they are facing with the white side up!


Measure your ribbon around the outside of your board. Leave it just a little longer so you can overlap the end of the ribbon for a cleaner finish. Cut.
Begin hot glueing over the outside edges of your board and placing the ribbon on. I do this a little at a time so I can smooth the ribbon down and so the ribbon is even. I apply the hot glue in a zig-zag motion to cover the edge evenly. Continue gluing the ribbon down until the entire edge of the board is covered. The picture below looks a little sloppy as it was pretty hard to glue & photograph at the same time ;)

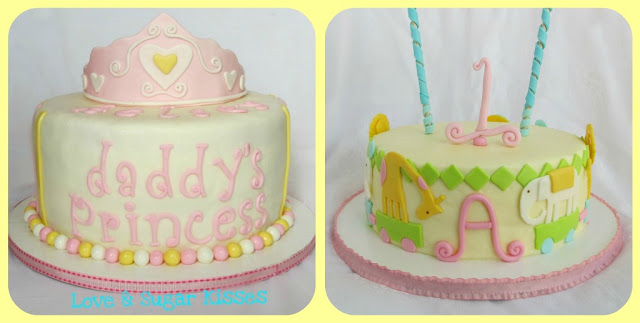
Your cake board is complete! Here are a couple more examples of the ones I've made.
I hope this simple tutorial will help you add an extra little fun detail to your next cake!

I hope this simple tutorial will help you add an extra little fun detail to your next cake!
I'm linking this post up to...


Thank you for such a wonderful idea. Loving it. :)
ReplyDelete