Friday, August 12, 2011

Friday's Fabulous Five {Beautiful Cakes}

I love cake! No...I really mean it...I LOVE cake! The subject sits at the forefront of my brain regularly...new recipes to try, techniques to learn...and of course thinking about the next one I get to eat! While I enjoy decorating cakes, I am in awe of some of the amazing ARTISTS who create such unbelievable sugar works of art.


I'm not talking about cakes shaped like skyscrapers or that shoot fireworks or anything along those lines. Don't get me wrong, it takes a lot of talent to turn an edible medium like cake into a full fledged STRUCTURE. But what usually takes my breath away are the delicate things of pure beauty. Like these fabulous ones...


I find my tastes lately leaning towards the girly side and so I'm all about ruffles right now. These fondant ruffles have my heart especially going pitter-patter. 
The fondant is so unbelievably delicate that it almost looks like paper...incredible! This is from the amazing Maggie Austin Cake in Washington, DC.

Also from Maggie Austin Cake is this ombre style ruffle. I love the gradual color fading and am once again in awe of how delicate these ruffles are. 


I love so many things about this next cake...the color, the stencil, the flower...just perfection! The stencil is so flawless that it looks like lace. Courtesy of Cake Ink.

I love this gorgeous white rose covered cake. These incredible sugar flowers are the creation of the great cake icon Sylvia Weinstock and the photo is courtesy of Martha Stewart Weddings.

Amazing works of art can certainly be created out of fondant, but that doesn't mean that an all-buttercream cake can't be just as delicate and gorgeous. I love this flower covered cake for it's complete sense of romance. Courtesy of the very talented i am baker
Five fabulous, amazing, breathtaking cakes to start your weekend! I hope it's a cake-filled one ;)

Thursday, August 11, 2011

{DIY} Cake Board

It's amazing that something as simple as a nice cake board can make a difference on how pretty & finished your cake looks! I didn't always know that...just take a look.


Then I starting paying attention to the small details a little more.


I have learned that regardless of whether you make the cake yourself (no matter how simple or elaborate) or purchase it, the extra detail of a finished cake board can really make help make it shine!

I'm going to show you a very easy and inexpensive way to make a pretty cake board to dress up your next cake!

You will need the following...

1 package of cake circles. You can find these at most craft stores and even Walmart. You want to buy the size that is 2" bigger than your cake (ie 8" cake = 10" circles). The exception I make to this is if I am going to have 3D elements on the side like with my Puppy Cake. Then I will go larger so there is a little more room. 


Ribbon in a coordinating color/pattern. If you choose ribbon that is 3/"8 size then you will use 3 cake circles to make your board. If your ribbon is 5/8" then you will need 4 cake circles. Either will work fine, so choose whichever ribbon you like. What you do not want to do is try to trim the ribbon to fit your board because that will result in fraying. More cake circles make the board stronger, so if your cake is more than 1 tier opt for more circles and the larger ribbon!

You will also need hot glue.


Take your cake circles (3 or 4) and place hot glue on each one to attach them all together. Make sure you put glue all the way to the outer edge and apply evenly all over or there will be gaps in the sides. Hold them tightly together as they are drying to get them as flat as possible. Also be sure that they are facing with the white side up!


Measure your ribbon around the outside of your board. Leave it just a little longer  so you can overlap the end of the ribbon for a cleaner finish. Cut.


Begin hot glueing over the outside edges of your board and placing the ribbon on. I do this a little at a time so I can smooth the ribbon down and so the ribbon is even. I apply the hot glue in a zig-zag motion to cover the edge evenly. Continue gluing the ribbon down until the entire edge of the board is covered. The picture below looks a little sloppy as it was pretty hard to glue & photograph at the same time ;)


Your cake board is complete! Here are a couple more examples of the ones I've made.


I hope this simple tutorial will help you add an extra little fun detail to your next cake!


I'm linking this post up to...


Nothing But Country

Somewhat Simple

Tuesday, August 9, 2011

Kindergarten Rocks Party

My oldest baby just turned 5 and is heading to kindergarten in 2 weeks! I'm only slightly panicking at the thought of my little girl "out in the world"! I knew I wanted to have a special celebration to mark the occasion, but since her birthday party was only 2 weeks ago, I knew any celebration was going to LOW KEY! I also wanted to include my Goddaughter who turned 5 this summer and is heading to kindergarten as well.

So it was low key and small (just our 3 girls and 4 adults)...but that doesn't have to mean boring right??? 

A few months ago, I was looking for special kindergarten gifts when I found this super cute bottle cap necklace from Rosey Posey Bowtique.

I bought them for the girls and knew I was going to throw a Kindergarten Rocks celebration!

My budget was pretty much next to nothing since I had just thrown my girl her birthday party. I wanted to make it fun without breaking the bank...oh and I put it all together in a matter of days so I just came up with ideas on the fly as I went along!

One of my favorite budget decorating supplies to use is wrapping paper! I found these fun zebra print ones at Party City and used it for almost all of my decorations. At $4.00 for a large roll it was a great bargain (and I still have some of each left)!

Of course I had to make a Rock Star Cake for the girls. It was inspired by the ribbon that I found at Walmart (another bargain). The tulle skirt was a last minute idea I had. I found the roll of tulle at Walmart also and bought it not really knowing what I was going to do with it. Then while putting together the food stands, I got the idea for the skirt. You can find the tutorial for the cake stand on my post here.

Since the party was so small, I knew I wasn't going to have a big dessert table. But I couldn't resist the rock candy and I used some leftovers from the cake stand skirt and used it to decorate a drinking glass.

These fondant cookie toppers were made with leftover fondant from our birthday party. The cookies were Pillsbury to save time and because they are super easy! 

I made the treat stands by using the Dollar store trays that I purchased for the previous birthday party and then dressed them up with some of the wrapping paper. I covered the wrapping with clear contact paper to keep it from absorbing any oil from the cookies. I wrapped some cans of tomato sauce from the pantry in the wrapping paper also and then used glue dots to attach them together. Cheap, easy and cute!!!

Some empty coffee cans wrapped in paper and dressed up with some ribbon became our balloon holders for the centerpieces! 
I cut out a large piece of the wrapping paper and used it as table runner.

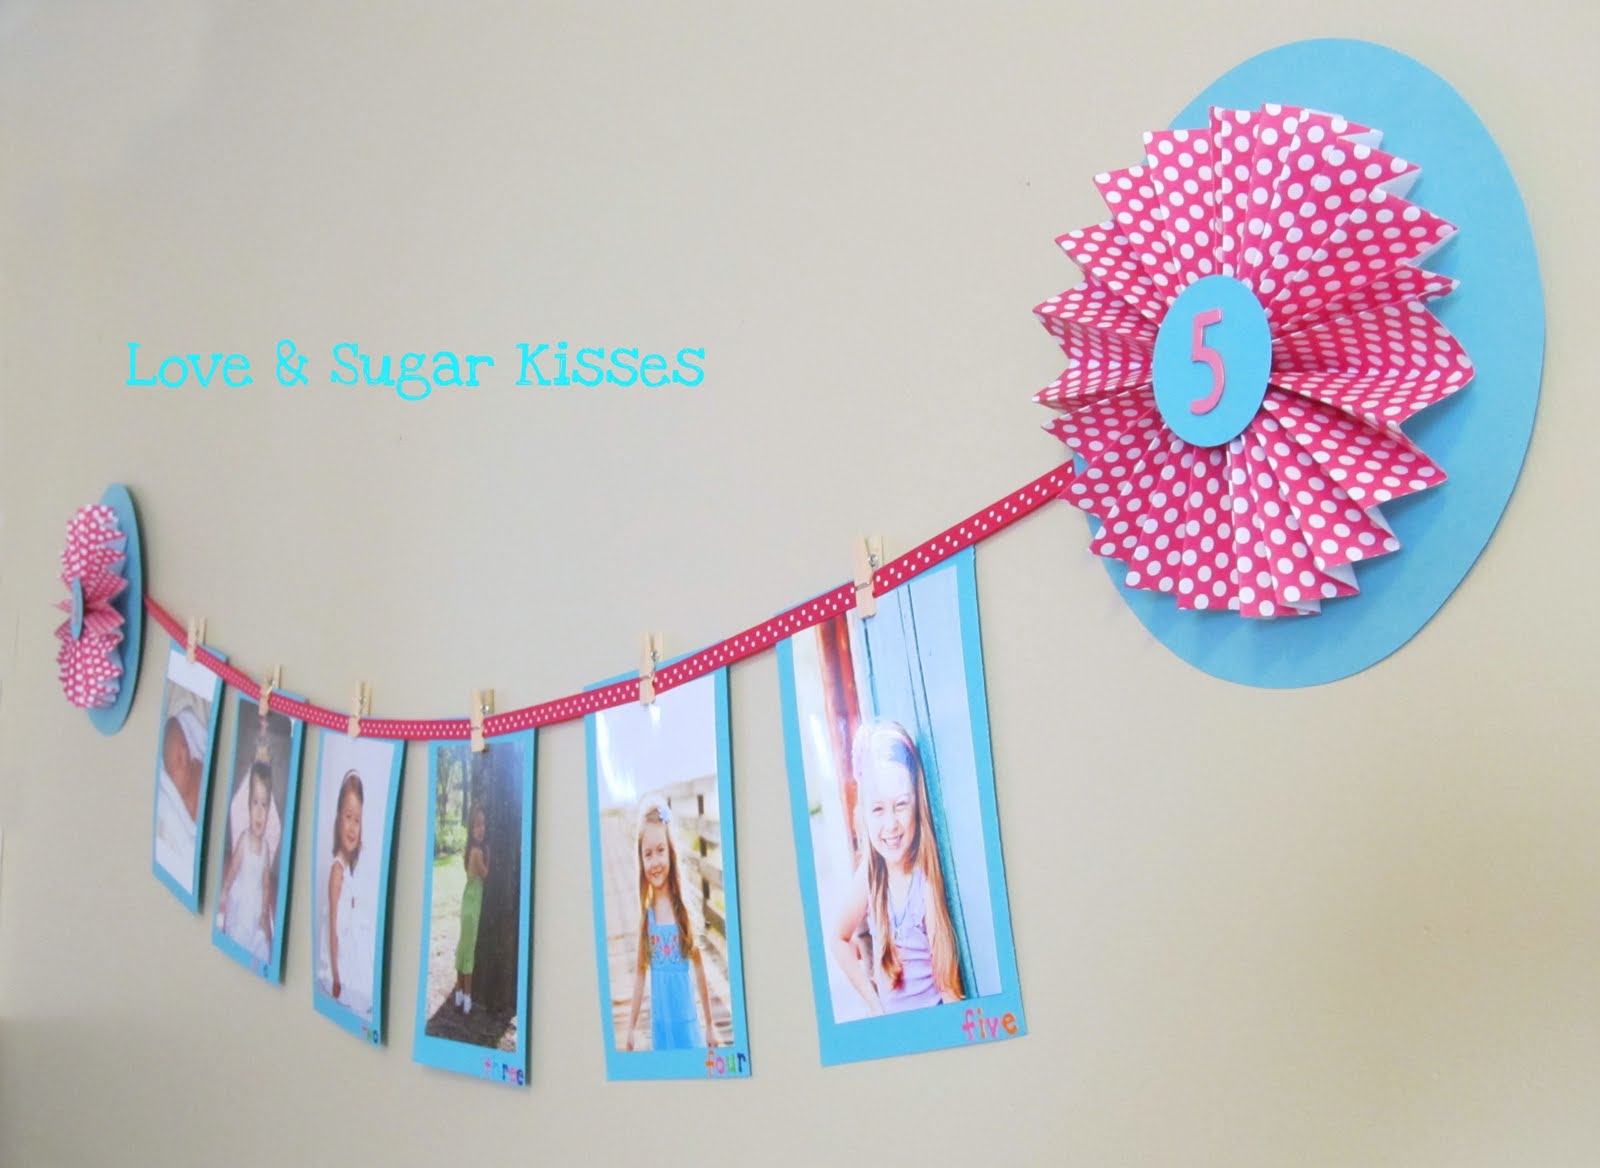
My daughter and Goddaughter were born 6 weeks apart and are best friends. We live about an hour and half apart, but we spend every holiday together and visit about once a month as well. I created a collage of pictures of the girls together from infants until now. That was undoubtedly their favorite part of the party (ok maybe a close second with eating cake & cookies) :)

All of the lettering was just printed out on the computer (I tried to use a "rock" type font) and then glued onto cardstock and wrapping paper!


My sister-in-law jazzed up the kids table with some fun party ware and microphones for our rock stars.


She also made them these cute shirts!

This little celebration was so fun to put together! I loved that it was very budget friendly, but still made our girls feel special. 

I know these girls are most definitely going to 
Rock Kindergarten!


I'm sharing this party...

Monday, August 8, 2011

Guest Posting at Nothing But Country!

Today I'm so excited to be doing my very first guest post over at one of my favorite blogs Nothing But Country!
Nothing But Country


Hop on over and come check out the fun & easy birthday party Photo Collage craft I'm sharing!


Nothing But Country

Sunday, August 7, 2011

Rock Star Party Cake

We recently celebrated the magical milestone of my daughter and Goddaughter heading to Kindergarten this fall! I will be posting pictures from our little celebration, but wanted to share the cake I made. I chose the theme "Kindergarten Rocks" for our party because these little girls most definitely ROCK!


The tutu was absolutely the perfect touch for our two little glam rockers! You can find the tutorial for the cake stand on my post HERE.


Rock on!

Friday, August 5, 2011

Friday's Fabulous Five {Crafts}

Happy Friday! Time to showcase some FABULOUS DIY ideas that are calling my name. So many great ideas...too little time :)

I'm a little bit crazy about spray-painting right now. If I had a whole day to myself, I would probably spray paint every brown thing in my home a new color.  That's part of the reason this first craft is so fabulous. The other part is that it's just a great idea!
Shanty 2 Chic takes an boring inexpensive frame and turns it into a fabulous one! I love how adding the clip makes it so easy to update pictures! Check out the fantastic picture wall using these great frames.

I love the colors of this next adorable craft...a Framed Bow Holder. The pink frame and the colorful ribbons are so fun, that I wouldn't even care if I ever hung bows on it at all! I actually love it just as an art piece. Find the complete how-to over at Honeybear Lane.

My home office/creative space has been undergoing a revamp for months now...one painfully slow piece at a time. I'm really loving this next craft because it is the coolest mouse pad I think I've seen and I totally want to make it for my desk! It's made using corkboard, paint and a stencil. You can find the how-to over at Better Homes and Gardens.

There has been this huge trend in making crafts using paint chips. I have to wonder if the hardware stores have been stocking these suckers like mad lately. But you know I will be snagging a few for myself soon :)

Like to make this pretty Paint Chip Mobile. Even though there are no official babies in my home, I think this would look beautiful in my big girls' room. Complete directions on the Dollar Store Crafts

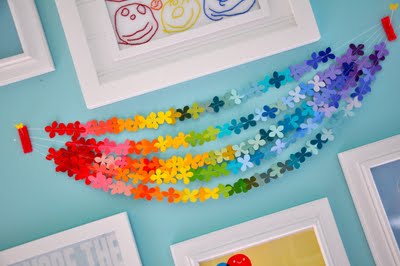
I love how cheerful and fun this rainbow colored chip paint garland. The garland is the centerpiece of one of the happiest walls I've ever seen. Go check out the complete post over at Little Bit Funky.

That's FIVE FABULOUS CRAFTS to get your weekend started! I hope you make it a great one!

Saturday, July 30, 2011

Circus Cake

Children's cakes are hands-down my favorite cakes to make! I love how excited kids get when they see the fun cake made especially for their special day. I love and cherish being a small part of that celebration.

First birthdays are especially precious. Even though the birthday child is really too young to probably care much about the cake decoration, I know that mom and dad want everything to be perfect for that first celebration. It's really an honor to be asked to be a part of that special day.

I recently had the pleasure of making a cute circus themed cake for a special baby girl on her first birthday.

The cake was a vanilla cake with strawberry cream cheese filling. All the decorations are hand-made from marshmallow fondant. The animals were especially fun to make.


The birthday girl had her own special smash cake, which was dairy-free per Mom's request. It was my first time working with soy substitutes and I was very happy with the results. While this butter-loving girl will never give up her butter personally, it's nice to have options for those who don't want or can't have it.


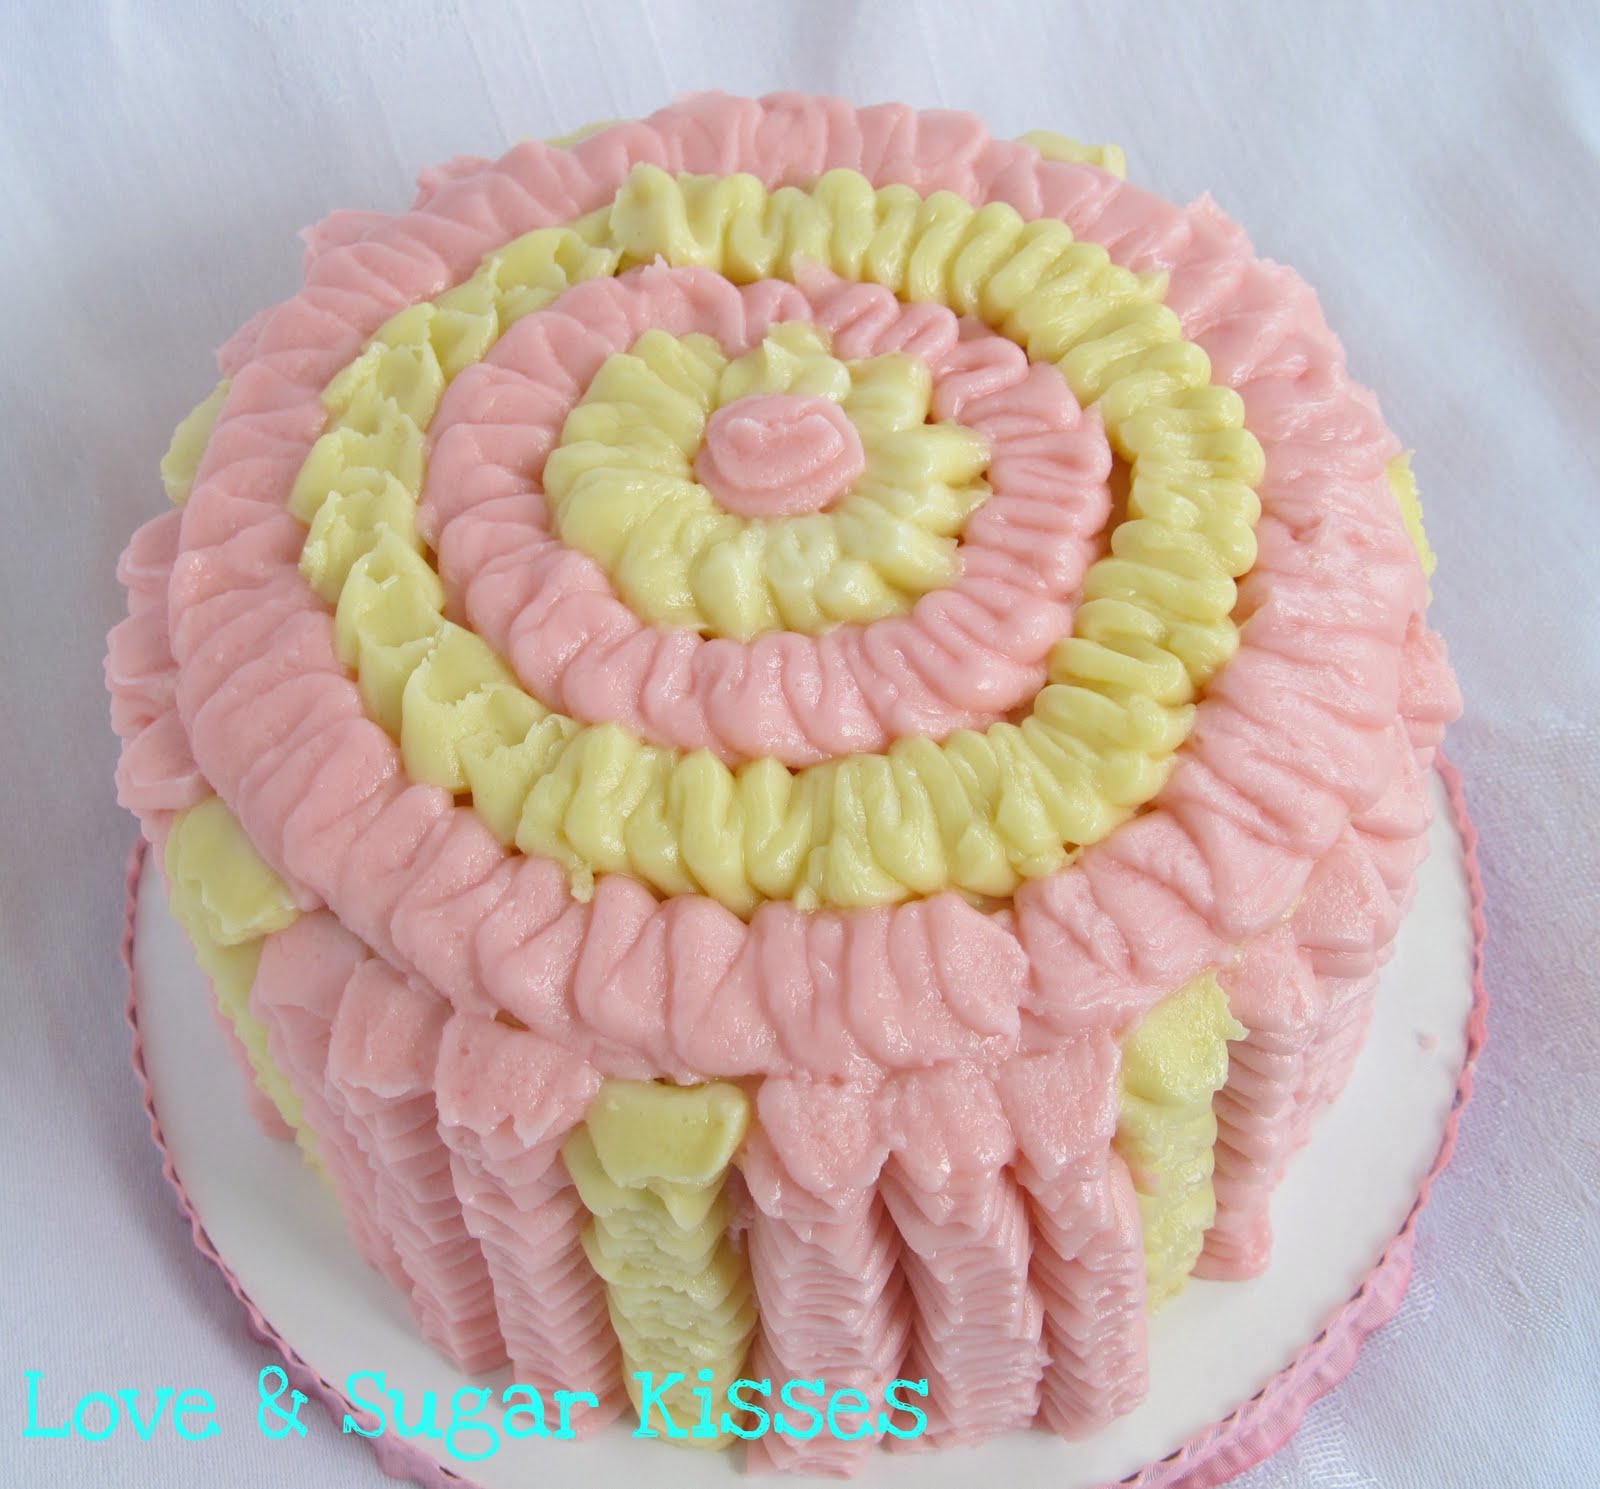
I can't resist a sweet ruffle for a sweet girl.


Happy Birthday little princess!